
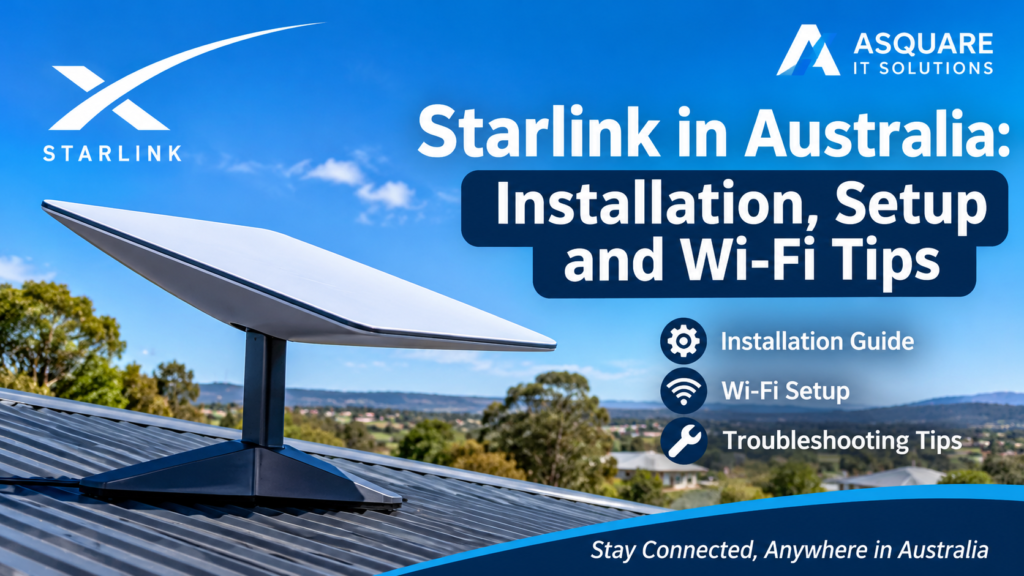
Starlink in Australia: Installation, Setup and Wi-Fi Tips
Reliable internet is essential for homes and businesses, but traditional broadband services are not always available or suitable in every location. For properties in regional areas, rural locations and places with limited internet options, Starlink can provide another way to get connected.
Starlink is a satellite internet service developed by SpaceX. It uses a network of low Earth orbit satellites to provide internet access across Australia, including locations where fixed-line broadband services may be limited.
However, getting the best results from Starlink involves more than simply connecting the equipment. Dish placement, clear sky visibility, Wi-Fi coverage and network configuration can all affect performance.
In this guide, Asquare IT Solutions explains how Starlink works, what to consider before installation, how to set it up and how to connect it to your home or business network.
What Is Starlink and How Does It Work?
Starlink is a satellite internet service operated by SpaceX. Unlike traditional satellite internet systems that rely on satellites positioned much farther from Earth, Starlink uses a large network of low Earth orbit satellites.
The Starlink dish communicates with satellites overhead to establish an internet connection. The equipment then connects to a Wi-Fi router, allowing phones, computers, smart TVs and other compatible devices to access the internet.
Because the satellites operate closer to Earth than traditional geostationary satellites, Starlink can offer lower latency and responsive internet performance compared with many older satellite internet services.
Starlink can be useful for:
- Rural and regional homes with limited broadband options.
- Farms and properties outside major towns.
- Businesses operating in locations with unreliable fixed-line internet.
- Remote work locations and temporary sites.
- Properties requiring an alternative internet connection.
What Equipment Is Needed for Starlink Installation?
A standard Starlink setup includes a satellite dish, a Wi-Fi router, power supply components and the required cables. The exact equipment supplied can vary depending on the Starlink hardware model and service plan.
Before installation, consider the following:
- Starlink dish: Receives the internet connection from the satellites.
- Wi-Fi router: Distributes the internet connection to your wireless devices.
- Power supply: Provides power to the Starlink equipment.
- Cables: Connect the dish to the router or associated equipment.
- Mounting hardware: Helps position and secure the dish in a suitable location.
Some installations may require additional mounting equipment, cable routing or network accessories depending on the property.
Where Should You Install a Starlink Dish?
Dish placement is one of the most important parts of a successful Starlink installation. The dish needs a clear view of the sky to communicate reliably with passing satellites.
A roof, pole or suitable outdoor mounting position may provide better visibility than placing the dish near walls, trees or other obstructions.
Before choosing a location, consider:
- Clear sky visibility: Avoid trees, buildings and other objects that obstruct the dish’s view.
- Mounting stability: Use a secure mounting position suitable for the equipment and local weather conditions.
- Cable routing: Plan a safe route for the cable between the dish and the router.
- Weather exposure: Follow the manufacturer’s installation instructions for outdoor mounting and cable protection.
- Accessibility: Choose a location that allows safe inspection and maintenance.
The Starlink app includes an obstruction-checking feature that can help identify whether a proposed location has a clear enough view of the sky.
For roof or elevated installations, use a qualified installer and appropriate fall-protection measures rather than attempting unsafe DIY work.
How to Set Up Starlink Internet
Setting up Starlink involves installing the dish, connecting the equipment and configuring the internet connection through the Starlink app.
Although the process is designed to be straightforward, the installation can vary depending on the Starlink hardware, property layout and mounting requirements.
The general setup process includes:
- Choose a suitable location: Find an outdoor position with a clear view of the sky.
- Install the dish: Position and secure the dish using the appropriate mounting equipment.
- Connect the cables: Follow the instructions supplied with your Starlink hardware.
- Power on the equipment: Allow the dish and router to start up and establish a connection.
- Use the Starlink app: Follow the setup instructions and check for obstructions.
- Configure Wi-Fi: Set your wireless network name and password.
- Test the connection: Check internet access on several devices around the property.
Always follow the instructions for your particular Starlink model, as equipment and setup procedures can differ.
Connecting Starlink to Your Home or Business Wi-Fi Network
Once Starlink is connected to the internet, the next step is making sure your Wi-Fi network provides reliable coverage throughout your property.
The standard Starlink router may be suitable for many homes and smaller properties. However, larger houses, offices, warehouses and commercial buildings may need additional networking equipment.
Depending on your requirements, your network may benefit from:
- Additional wireless access points to improve Wi-Fi coverage.
- Mesh Wi-Fi systems for larger homes and offices.
- Network switches to connect multiple wired devices.
- Business-grade routers and firewalls for more advanced network management.
- Separate business and guest Wi-Fi networks.
- Ethernet connections for computers, printers, security systems and other equipment.
The right configuration depends on the Starlink hardware, network requirements and property layout. Some Starlink models support Ethernet connections directly, while others may require compatible accessories.
A properly configured network can help improve coverage, reliability and connectivity for everyday business operations.
Is Starlink Suitable for Small Businesses?
Starlink can be a useful internet option for small businesses, particularly in regional and rural areas where traditional broadband services may be limited.
Depending on the service plan, location and network configuration, businesses can use Starlink for:
- Microsoft 365 and cloud applications.
- Business email and video meetings.
- Cloud-based accounting and business software.
- Online ordering and payment systems.
- Remote access to business systems.
- General browsing and everyday office activities.
Businesses should also consider backup internet options, network security, Wi-Fi coverage and the number of devices using the connection.
For business-critical systems, Starlink performance and availability should be assessed against the organisation’s requirements before relying on it as the primary internet connection.
Common Starlink Problems and How to Fix Them
Like any internet service, Starlink can occasionally experience connectivity or performance issues. Many common problems can be investigated with a few basic checks.
1. Slow internet speeds
Check for obstructions around the dish, restart the equipment if necessary and test the connection using the Starlink app. Performance can also vary with network conditions and service usage.
2. Frequent disconnections
Check that cables are properly connected and inspect the Starlink app for obstruction warnings or service alerts.
3. Poor Wi-Fi coverage
If the internet works well near the router but not in other rooms, you may need additional Wi-Fi access points or a suitable mesh networking system.
4. Devices cannot connect
Check the Wi-Fi password, restart the affected device and confirm that the router is operating correctly.
5. Business network connectivity issues
Incorrect router settings, network configuration problems or incompatible equipment can affect access to business systems. A network assessment may help identify the cause.
If problems continue, check the Starlink app and official support resources before changing advanced network settings.
Professional Starlink Installation and Setup by Asquare IT Solutions
Getting Starlink connected is only part of the process. Making sure your internet connection works reliably with your existing devices, Wi-Fi network and business systems is equally important.
Asquare IT Solutions provides IT support and networking assistance for homes and small businesses across our service areas in Victoria.
We can assist with:
- Starlink equipment setup and configuration.
- Wi-Fi router and network configuration.
- Improving wireless coverage around your property.
- Connecting computers, printers and other network devices.
- Business network setup and troubleshooting.
- General internet connectivity and IT support.
Whether you need help getting started with Starlink or connecting it to an existing business network, our team can help you work towards a reliable and practical setup.
Contact Asquare IT Solutions to discuss your Starlink setup and networking requirements.
Final Thoughts
Starlink provides another internet option for Australian homes and businesses, particularly in locations where traditional broadband services may be limited.
Choosing the right dish location, installing the equipment correctly and configuring your Wi-Fi network can make a significant difference to your overall experience.
If you need assistance with Starlink setup, Wi-Fi configuration or business networking, Asquare IT Solutions can help with practical IT support to get your technology connected and working effectively.